Printing & Paper Guide for Coloring Pages
Before you hit Print, take a quick minute to get set up. A few simple checks can make your coloring pages look much cleaner and crisper.
- Check your ink or toner levels: Make sure you have enough black ink (and color ink, if the page is not pure black and white).
- Use the right paper size: Most Relaxing Daily Books pages are designed for standard US Letter (8.5 × 11 in) or A4. Match your printer setting to the page size shown in the file name or description.
- Open the file fully: For best results, open the PDF or image file in a viewer (like Adobe Reader, Preview, or your browser) rather than printing straight from the download pop-up.
- Check orientation: Make sure your printer is set to Portrait or Landscape to match the page, so nothing gets cut off.
- Do a test page if you can: If you are printing a lot of pages, try printing just one first to check the borders and line sharpness.
Good news: most basic home printers are absolutely fine for coloring pages. You do not need a fancy photo printer to enjoy beautiful results.
The paper you choose can change how your coloring pages feel and how well your pencils or pens glide. You do not need expensive art paper to start, but a few basics help.
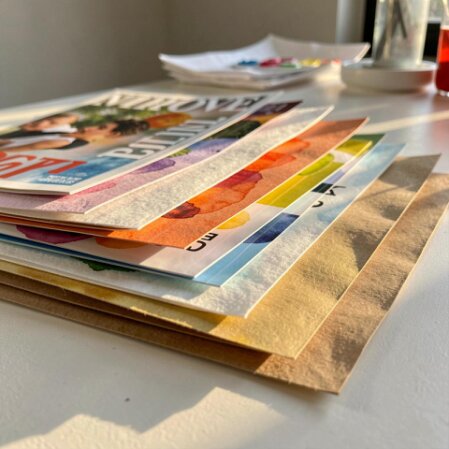
Paper weight basics
- Regular copy paper: Usually 70–80 gsm (around 20 lb in the US). It is thin, budget-friendly, and great for quick practice pages.
- Heavier paper: Around 90–120 gsm (24–32 lb) feels smoother and more sturdy. It is a nice upgrade for finished pages you want to keep.
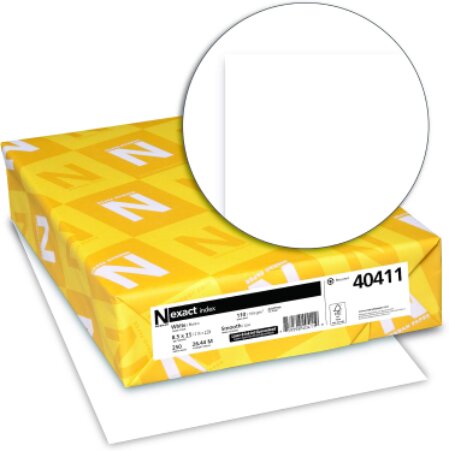
- Cardstock: 160 gsm and up. Very sturdy, best for pages you plan to display or gift, but it may not feed well in every home printer.
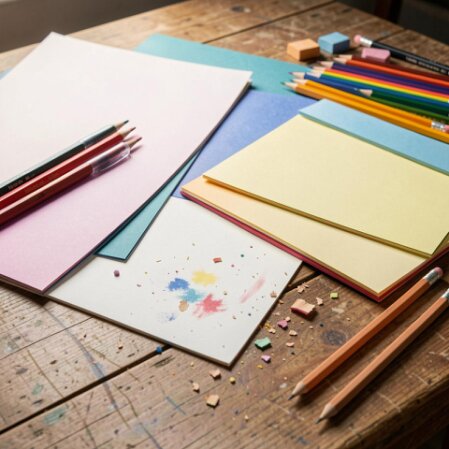
Best paper for different coloring tools
- Colored pencils: Work well on almost any paper. Slightly heavier paper (90–120 gsm) handles layering and erasing better.
- Water-based markers: Choose at least 90–100 gsm so the ink does not wrinkle the page as easily. Expect some show-through on the back.
- Alcohol markers: These almost always bleed through. Print on heavier paper or cardstock and always put scrap paper under your page.
- Gel pens: Smooth, slightly heavier paper helps them glide and reduces smudging while the ink dries.
Simple starting point
- If you are new, try good-quality printer or copy paper in the 90–100 gsm (24–28 lb) range. It is affordable, easy to find, and friendly for most pencils, markers, and gel pens.
- Once you know which tools you love most, you can test a few sheets of heavier paper or cardstock to see what you like best.
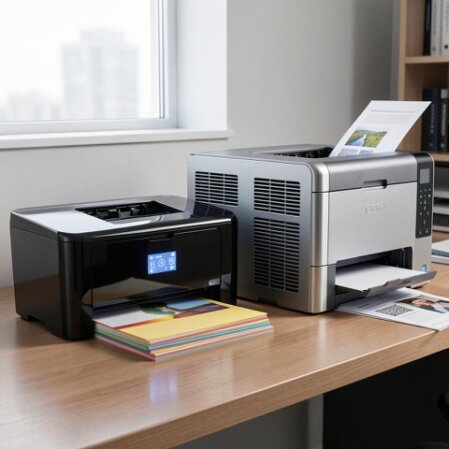
Every printer menu looks a little different, but these simple settings work well for most home printers when you are printing coloring pages.
- In your print dialog, look for Paper Type or Media Type.
- If you are using regular copy paper, choose Plain Paper.
- If you are using thicker paper or light cardstock, choose something like Heavyweight or Cardstock if it is available.
- Look for Quality or Print Quality.
- Choose Standard or Normal for everyday practice pages.
- Choose High or Best for pages you plan to frame, gift, or keep in a special binder.
- Look for options like Fit to Page, Scale, or Actual Size.
- To keep the original layout, choose Actual Size or 100% scale whenever possible.
- If part of the image is being cut off, try Fit to Page so everything fits inside your paper margins.
- Most coloring pages from Relaxing Daily Books are black-and-white line art.
- To save ink, choose Black & White or Grayscale if the page does not need full color.
If you are unsure, try this: set your printer to Plain Paper, Standard quality, Actual Size, and print one test page. If the lines look crisp and nothing is cut off, you are ready to print more.
You can print your coloring pages from many types of devices. The steps are similar, but here are a few simple tips for each one.
- Save the file to a folder you can find easily (like Downloads or Desktop).
- Open the file in a PDF reader or image viewer (Adobe Reader, Preview, or your web browser).
- Click File → Print, then review the preview to make sure the whole page appears on the screen.
- Check paper size, scaling, and orientation before clicking Print.
- Make sure your printer supports wireless or mobile printing and is on the same Wi‑Fi network.
- Download the file to your device, then open it in a PDF or image app.
- Tap the Share or Print icon and choose your printer.
- Look for a small Options or More settings button to double‑check paper size and orientation.
- If your phone or tablet does not connect easily to your printer, email the file to yourself or use cloud storage.
- Open the file on a desktop or laptop that is connected to the printer and print from there using the steps above.
No matter which device you use, always pause for a second at the print preview. If it looks centered and nothing is chopped off, you are probably good to go.
Bleed-through (ink soaking through to the back) and smudges are common worries, especially with markers and gel pens. Here is how to protect your pages.
Protect the surface under your page
- Place a scrap sheet of paper, thin cardboard, or a plastic sheet directly under the page you are coloring.
- Move this backing sheet underneath each new page to catch any ink that tries to bleed through.
Give the ink time to dry
- With gel pens and juicy markers, color in small sections and let them dry for a moment before resting your hand on top.
- If your hand tends to smudge, place a clean scrap of paper under your wrist as you color.
Match your tools to your paper
- On thin copy paper, use colored pencils, fineliners, or light markers and avoid going over the same spot too many times.
- On heavier paper or cardstock, you can safely use bolder markers and most gel pens.
- For alcohol markers, always expect bleed-through. Treat each page as one-sided and protect the surface beneath.
If a little show-through happens, that is okay. Many colorists simply use one side of each printed sheet and keep a backing page under their work.
If your first prints do not look perfect, do not worry. Here are some easy fixes for common printing issues.
- Problem: The lines look blurry or fuzzy.
• Check that you selected the correct paper type and a Standard or High quality setting.
• Make sure the file is opened at full size (not a tiny preview screenshot). Print from the original PDF or image file.
• Gently clean your printer heads or run the printer’s built‑in cleaning cycle if available. - Problem: The page looks too light.
• Increase print quality from Draft/Eco to Standard or High.
• Check ink or toner levels and replace cartridges that are almost empty.
• Turn off any “Toner Save” or “Ink Save” modes. - Problem: The page looks too dark or heavy.
• Switch from High quality down to Standard to reduce the amount of ink used.
• If you are printing from an image editor, lower the contrast slightly before printing. - Problem: The image is not centered or part is cut off.
• Make sure the paper size in the print dialog matches the paper in your printer tray (for example, US Letter or A4).
• Try turning on Fit to Page if the edges are being cut off.
• Check that the orientation (Portrait or Landscape) matches the page design. - Problem: The printer is not picking up thick paper.
• Check your printer manual to see the maximum paper weight it supports.
• Feed thicker sheets one at a time, using a straight‑through or rear tray if your printer has one.
If you are still stuck, try printing the same page on regular copy paper with default Plain Paper, Standard settings. If that looks better, you can adjust from there.
You are ready to bring your pages to life. The best way to find your favorite settings is to print one or two designs and see how they feel under your pencils or pens.
- Start with a single page and notice how the lines look, how the paper feels, and whether your markers or gel pens behave well.
- If something feels off (too light, too dark, or not centered), adjust one setting at a time and try again.
- Once you like the result, jot down your favorite settings so you can reuse them next time.
Below are two easy ways to pick your very first test pages.
Choose how you would like to test your printer settings: with a free sample page or a page from a full printable book.